
Skirting the Issue: A (Mostly) Painless Guide to Fitting Over Skirting Boards
Whispering's from the Workshop
If you're looking to fit over-skirting onto your existing skirting boards, you're in the right place. It can be a frustrating DIY job, but with the right approach (and a few cups of tea), you'll have it sorted in no time. In this guide, I'll walk you through the process step by step, including the tools you'll need and a few tips to avoid common mistakes.
Step 1: Measuring Up
First things first—measuring the size of the over-skirting and figuring out how much you need.
Grab your tape measure and, in a few places, measure from the floor to the top of your existing skirting board. This will give you the ‘cover’ required. If you're replacing your carpet, I’d recommend removing it before measuring to ensure accuracy.
Next, measure wall to wall on each side to determine the length of over-skirting required. They typically come in 3m or 4.2m lengths, so keep that in mind when ordering. I got mine from National Skirting, which has a great selection of designs.
Step 2: Tools You'll Need
Once my over-skirting arrived, I gathered the tools I’d need:
Tape measure
Chop saw (for straight and mitre cuts)
Jigsaw (for detailed cutouts)
Plane (for small adjustments)
Profile gauge (to help with tricky pipe cutouts)
Drill driver & drill bits
Decorator’s caulk (to fill any gaps and finish the look)
Step 3: Starting with the Easy Walls
Mini wins are always a great way to start and build confidence, so I started with the easiest wall first!
I measured from the wall to the door frame and made a straight cut. Since there were a couple of pipes at one end, I used my profile gauge to get an exact shape. I pressed it against the pipes until it touched the wall, carefully traced the outline onto the skirting, and cut the shape out with my jigsaw.
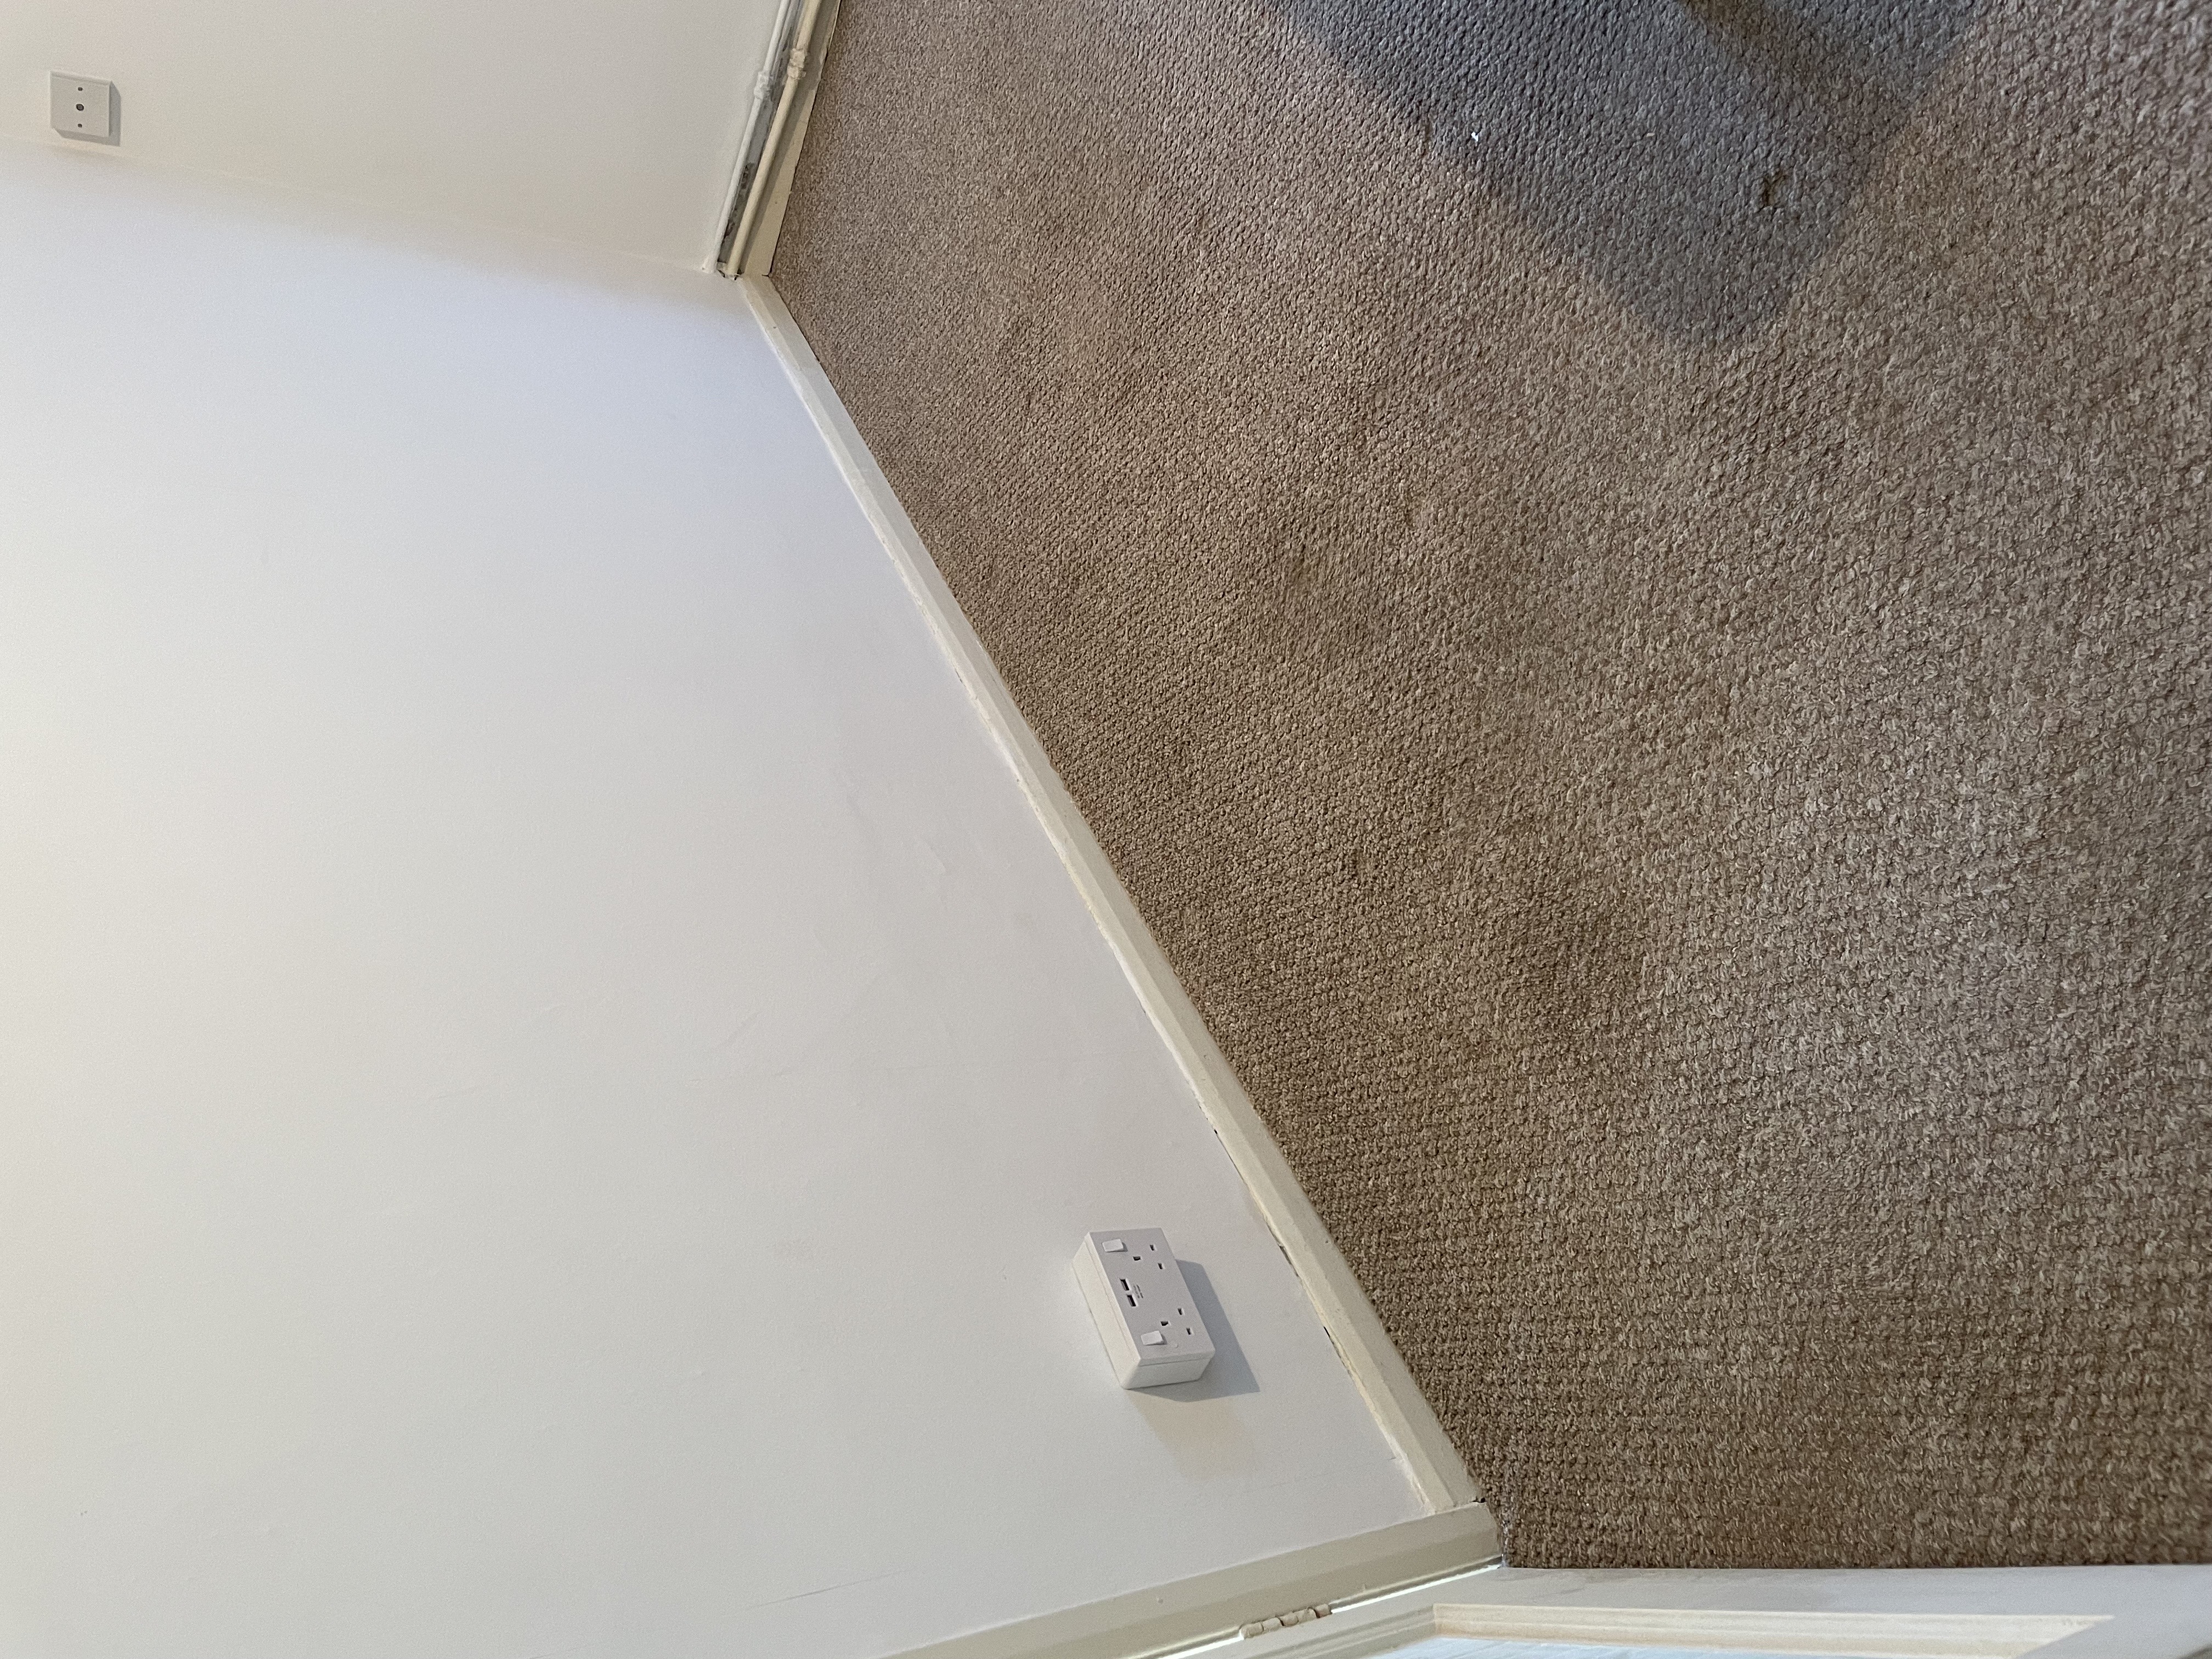
When you place the skirting board against the wall don't be surprised to see a few gaps between the wall and the board, most walls are not perfectly straight, this is where the decorators caulk comes in handy!
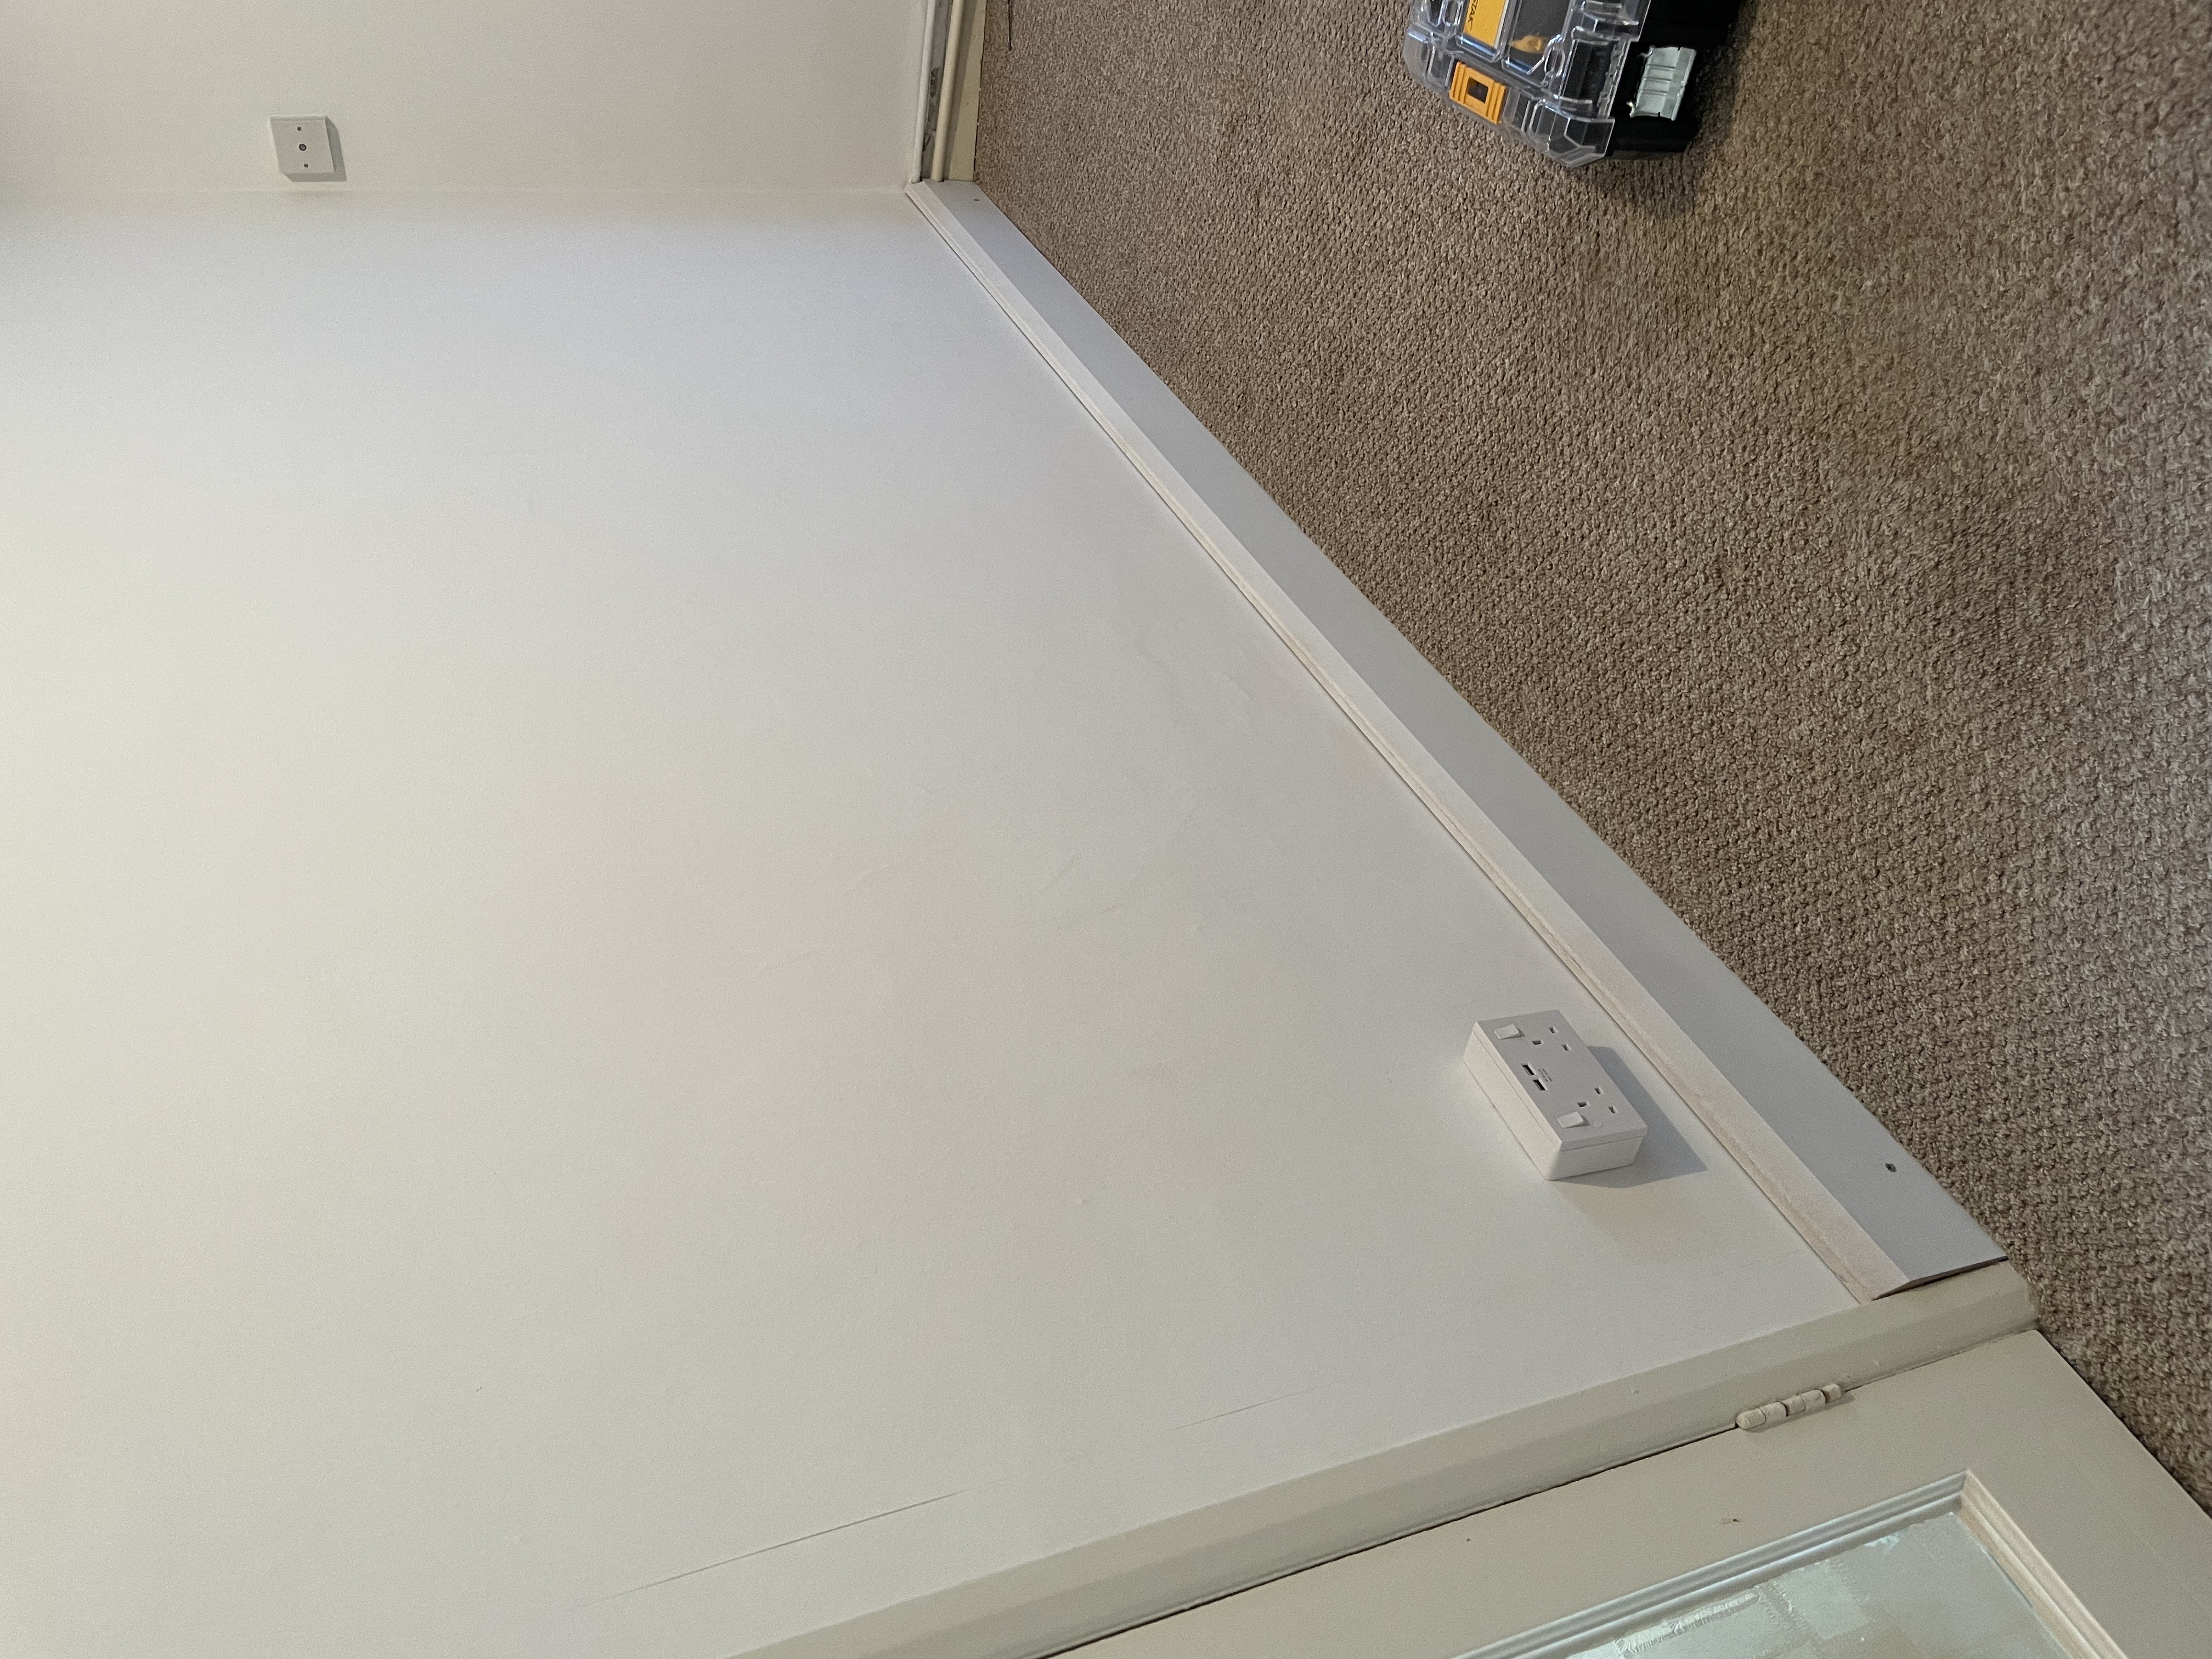
Step 4: Fixing the Skirting to the Wall
I decided to screw my skirting boards on in case I ever need to remove them in the future. You can choose to do the same or opt for grab adhesive or nails instead.
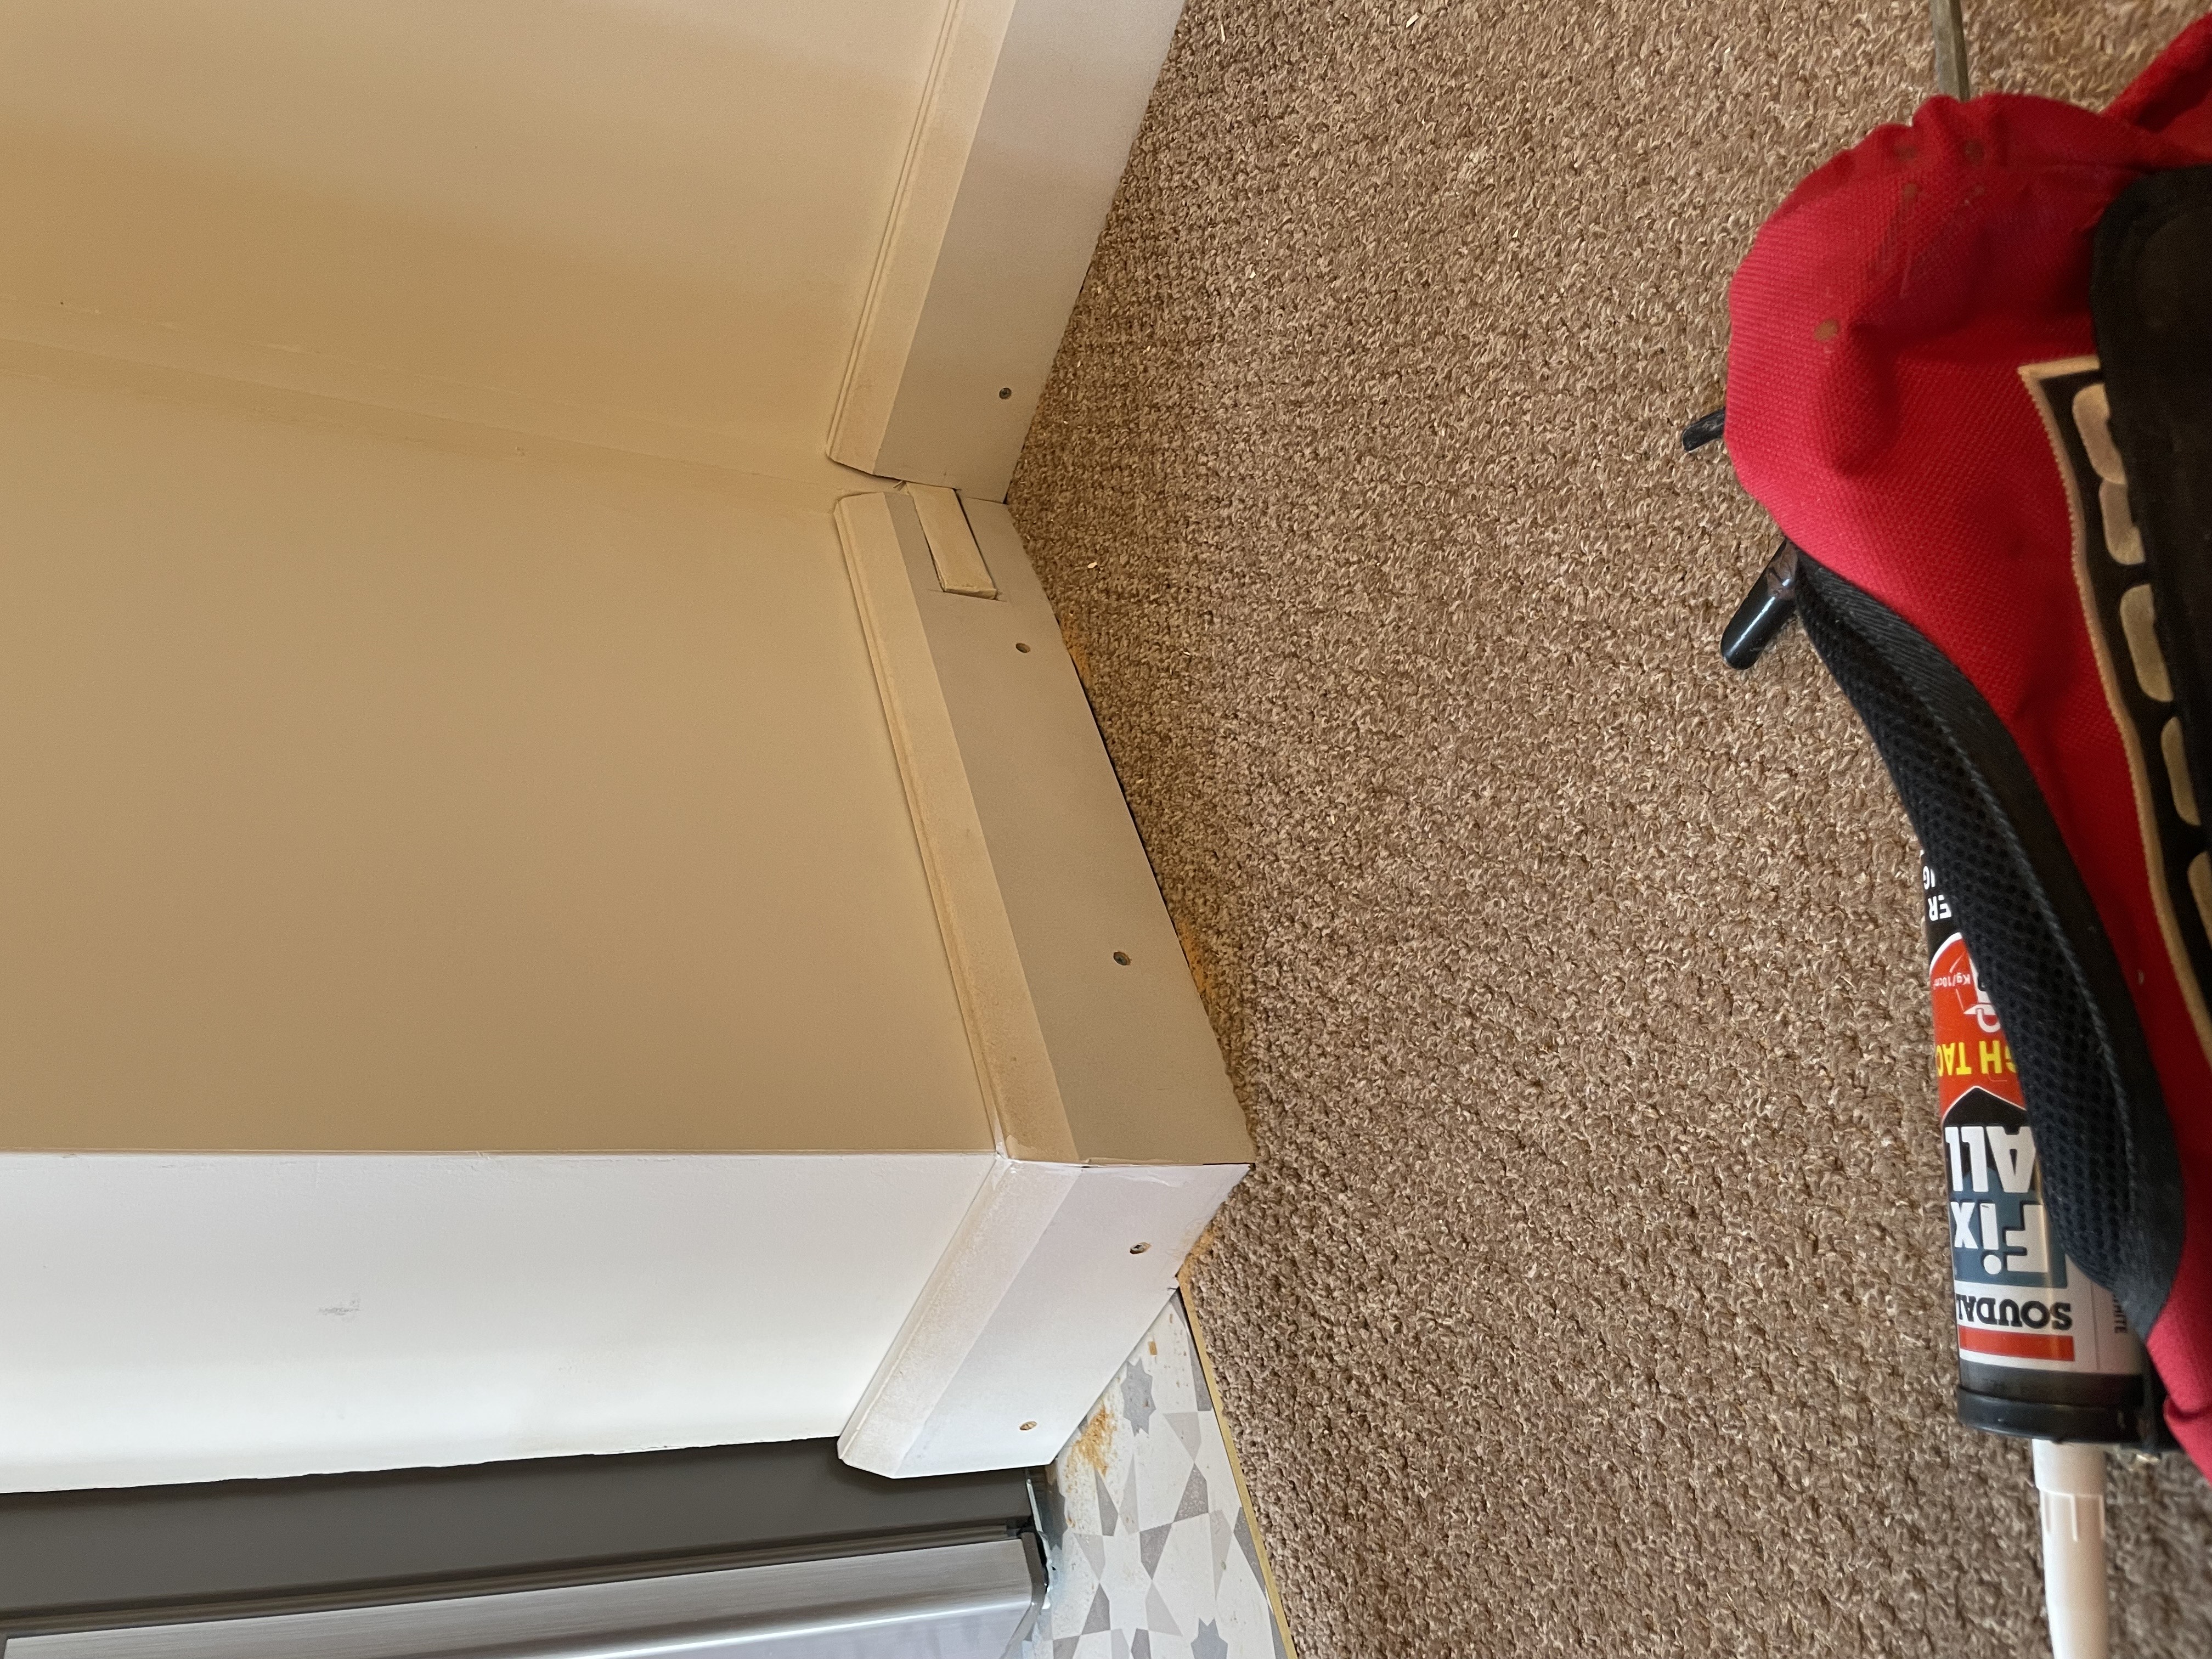
After fixing the first wall, I moved on to the opposite wall, which was also a simple straight cut. This time, I had to cut around some trunking (plastic cover normally over pipes). I measured its height and depth, marked it on the skirting, and cut out the profile with my jigsaw before screwing the board into place.
Step 5: Mitre Cuts & Tricky Angles
With the easy walls done, it was time to tackle the mitre cuts and the radiator.
For the mitre joints:
I measured from the wall to the edge, adding a little extra to account for the mitre cut (45 degrees).
I marked the skirting where the wall ended and drew a guideline in the direction of the mitre (this helps avoid cutting in the wrong direction—trust me, it happens!).
I repeated the process on the adjoining wall, ensuring the mitre cut faced the opposite direction.
Once both cuts were made, I fitted the two pieces together, creating a neat, seamless corner.
Step 6: Fitting Around the Radiator Pipes
This part was a little trickier!
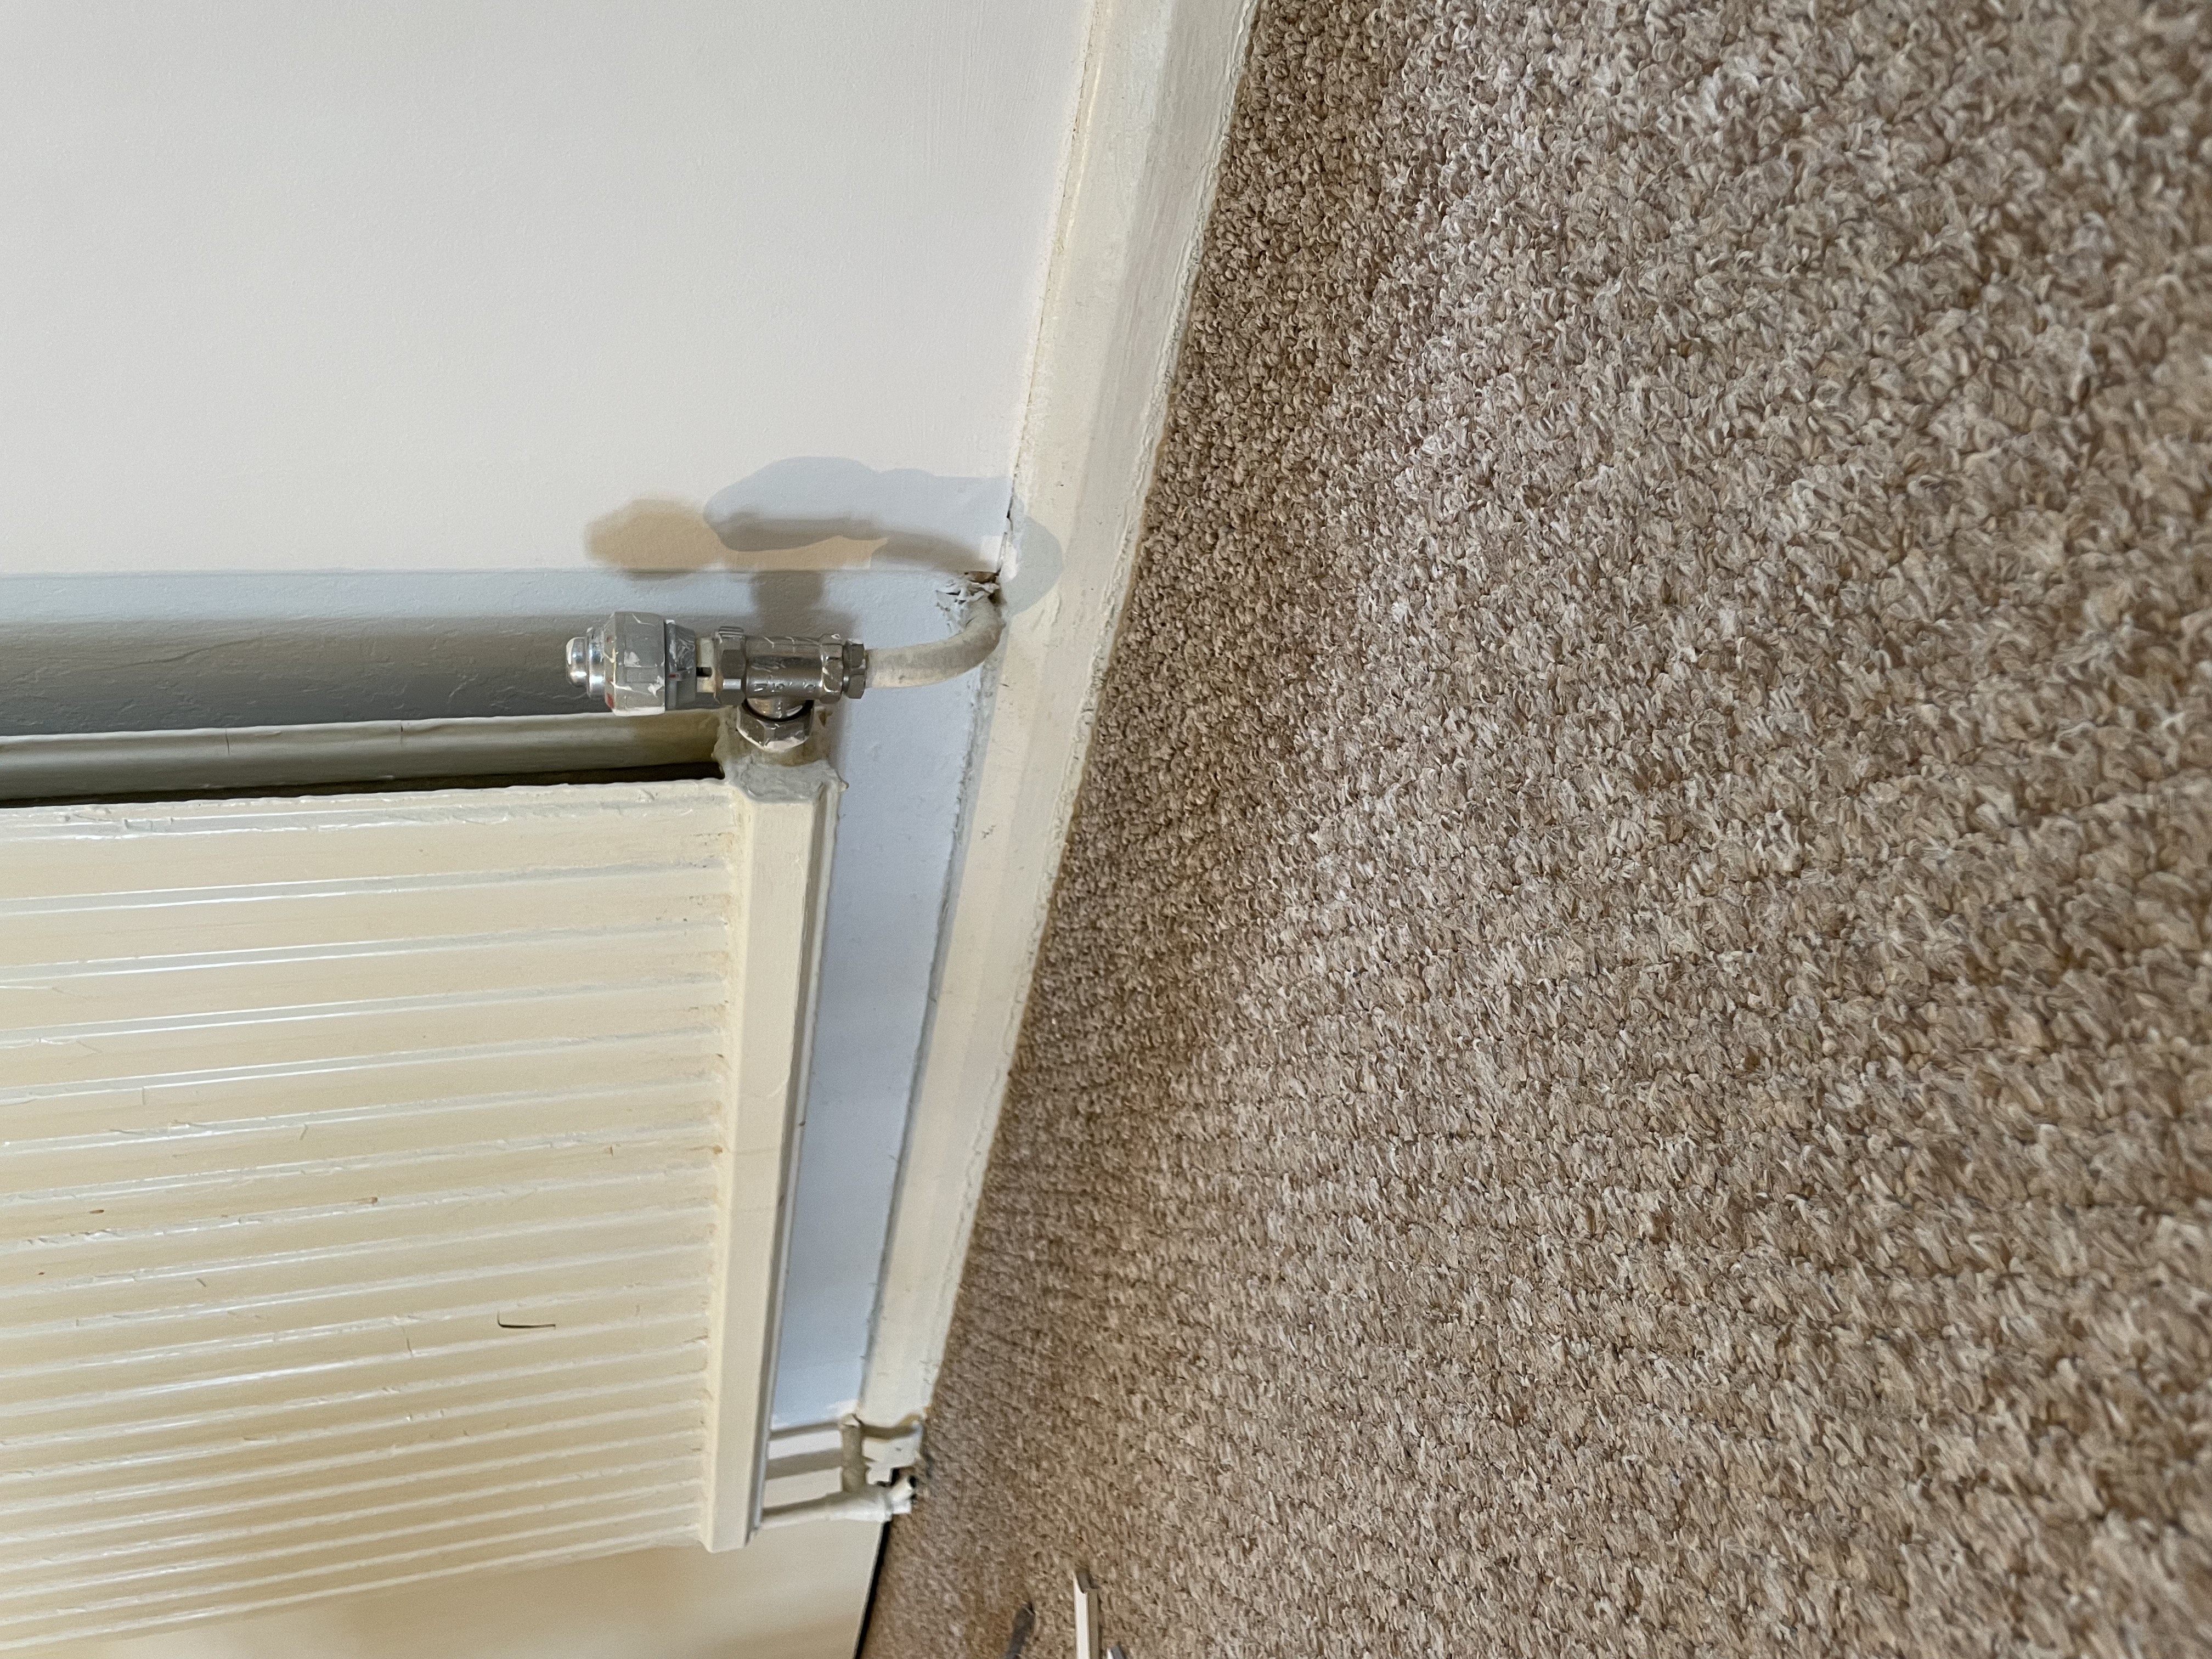
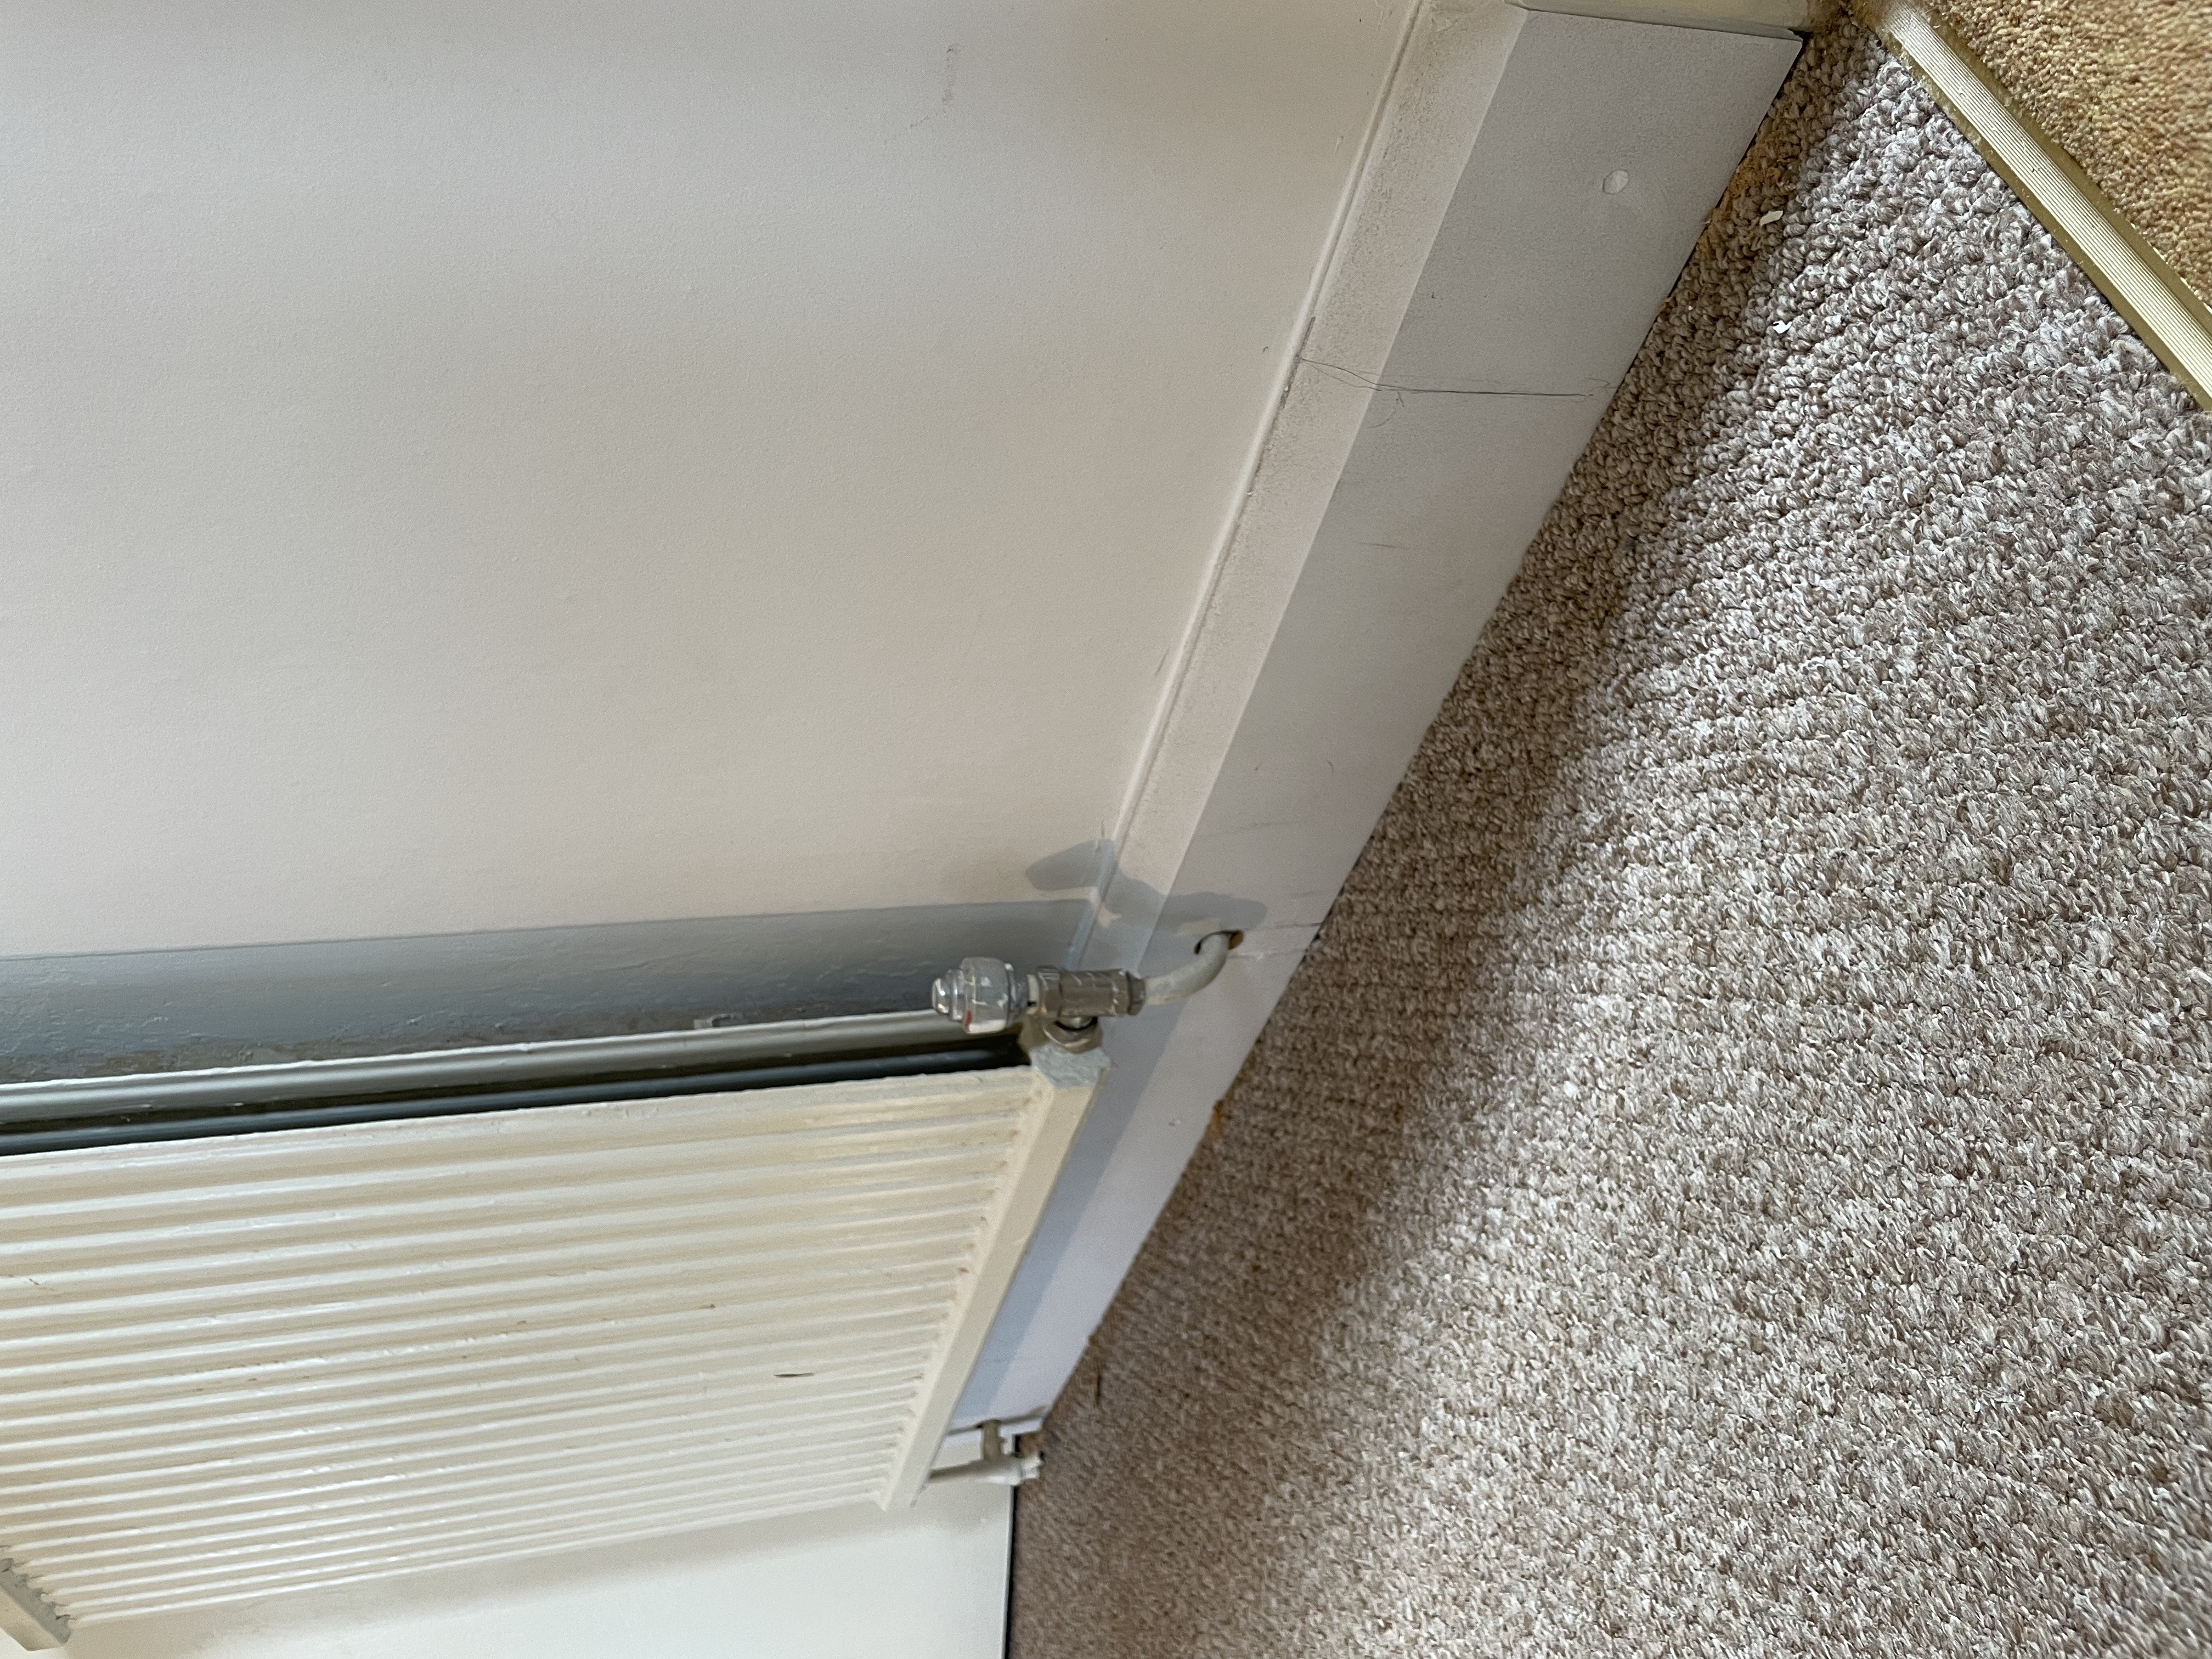
I cut the skirting board to the correct length and slid it behind the radiator to mark where the pipes came through the wall.
Using a drill bit the same size as the pipe (25mm in this case), I drilled a hole at the correct height.
Then, with my jigsaw, I cut a slot up to the hole so that I could slide the board into place.
Since one of the pipes came out at an angle, I had to slightly widen the cutout to fit it properly.
Make sure you save the cutouts for final fixing!
Once the board was in place, I glued the cutouts back in and filled in the saw lines with some filler for a smooth finish.
Step 7: The Final Touches
With all the boards fixed in place, the last step was filling any gaps with decorator’s caulk.
All that's left to do now is give them a fresh coat of paint.
My Tips for a Smooth Skirting Job
Before you grab your tools, here are a few last pieces of advice to help make the process easier:
✔ Measure twice, cut once – A small miscalculation can lead to big headaches, so double-check before making any cuts.
✔ Take your time – Rushing leads to mistakes. A careful approach will save you from having to redo sections later.
✔ Use a profile gauge for tricky shapes – It’s a lifesaver when cutting around pipes and other awkward obstacles.
✔ Label your cuts – Marking which piece goes where (especially with mitre cuts) can prevent confusion when fitting everything together.
✔ Don't skip the caulk – It hides small gaps and gives your skirting a professional, seamless finish.
✔ Tea breaks are essential – Because every good DIY project runs on caffeine and contemplation. ☕
Final Thoughts
Fitting over-skirting might seem like a daunting task at first, but once you get started, it’s just about taking it one step at a time. Choosing the right fixings (screws, glue, or nails), getting accurate cuts, and using decorator’s caulk to tidy up any gaps make all the difference.
Speak soon
Pip